
One packshot, a whole gallery
Build the supporting shots for a listing from the packshot you already have: a detail crop, a lifestyle scene, a gift-box mood. Three or four images, each doing a different job, without another shoot day.

Upload a jewelry image. Create AI jewelry model photos, product scenes, or a short AI jewelry model video for your next launch.
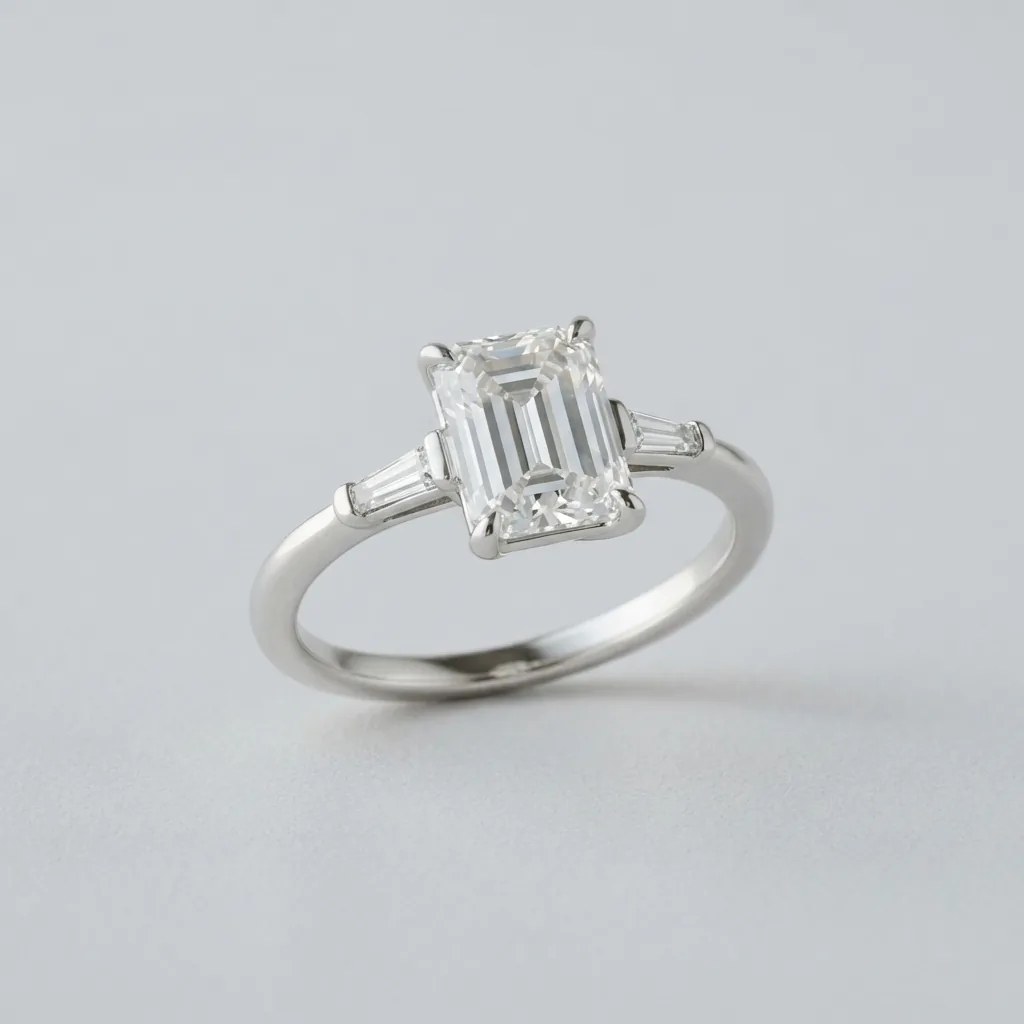
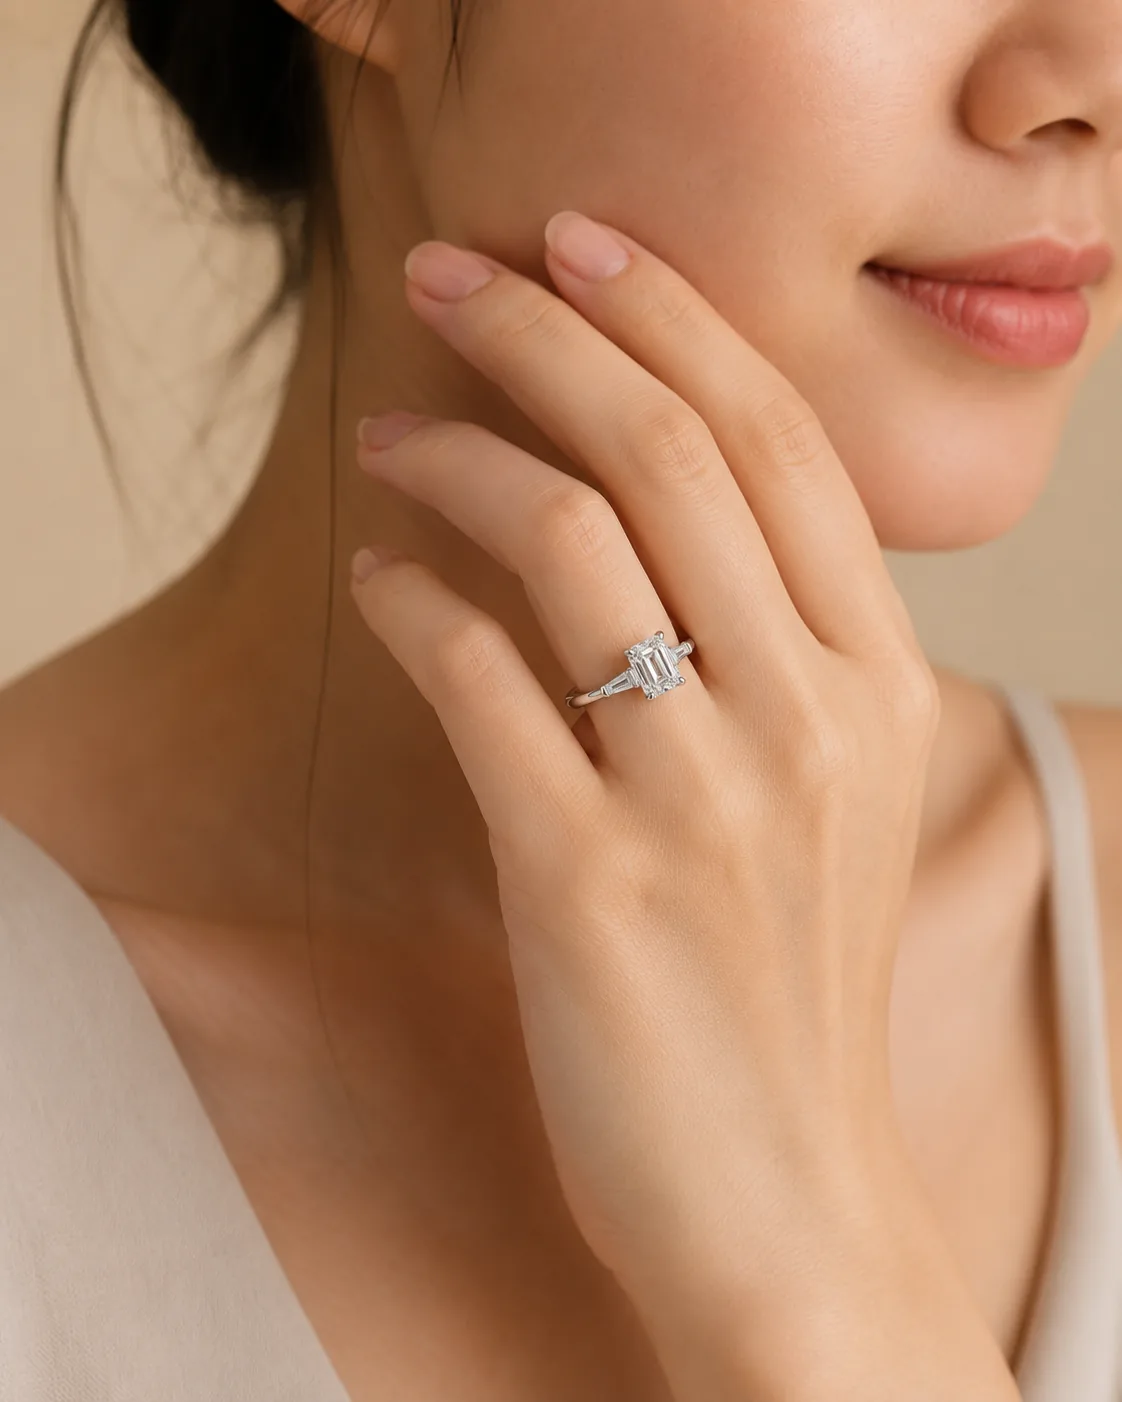
AI Jewelry Model Generator
AI jewelry photography
One clean packshot per SKU is usually all a small team has. AI jewelry model visuals fill out the gallery with a lifestyle shot, a detail crop, and something that actually works on the category page.
Start from the product photo you already trust and build a few scenes around it. Every image below is the same ring - a second gallery slot, a seasonal banner, a gift edit, an ad test.
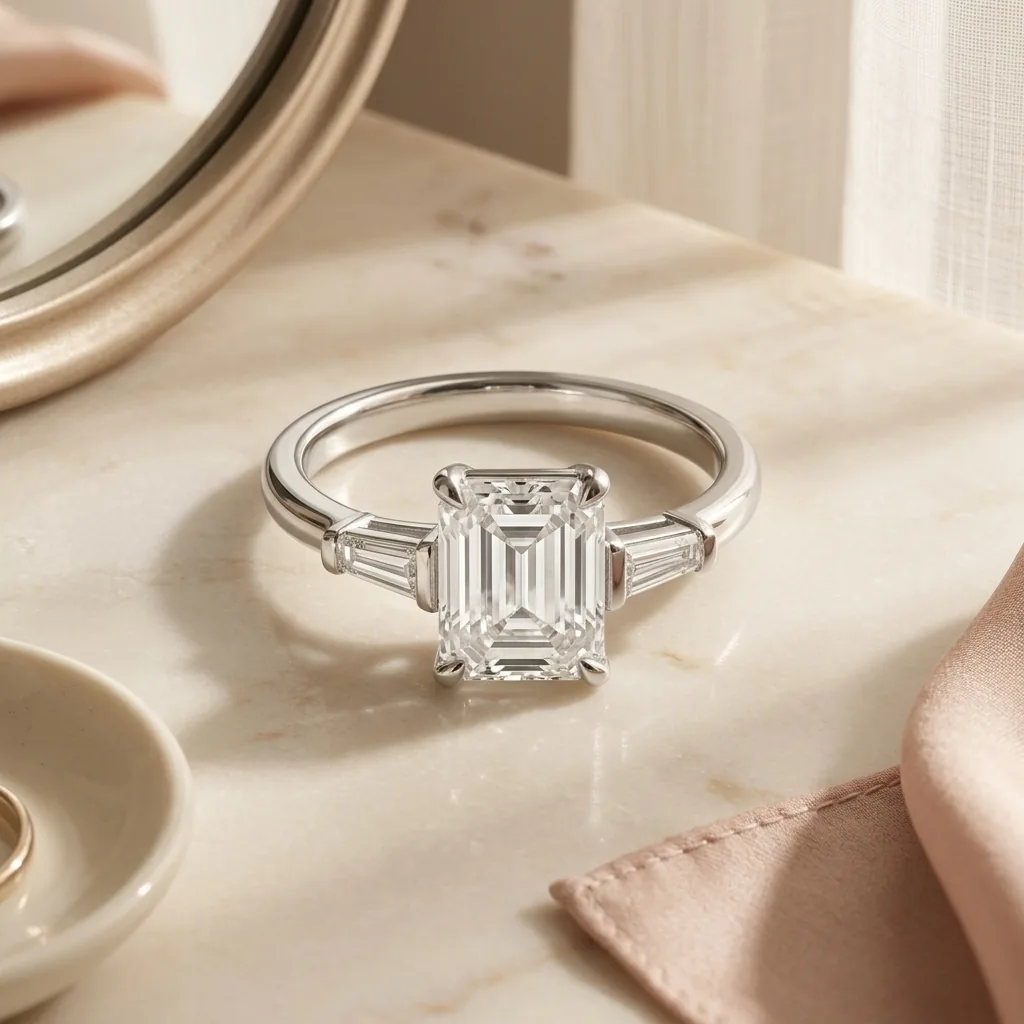
Daylight on a vanity. The first lifestyle slot after your packshot.
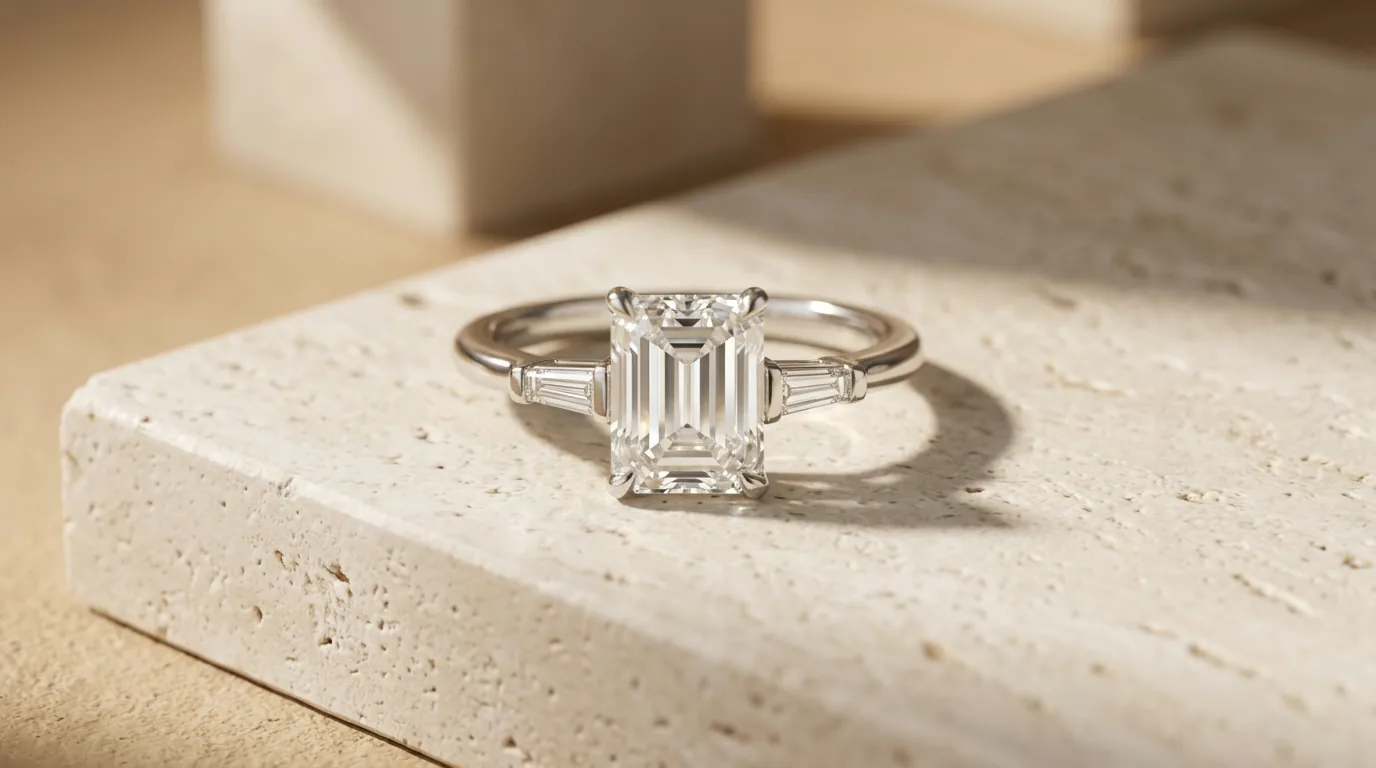
A tight crop on the stone and setting, for the shoppers who zoom in.
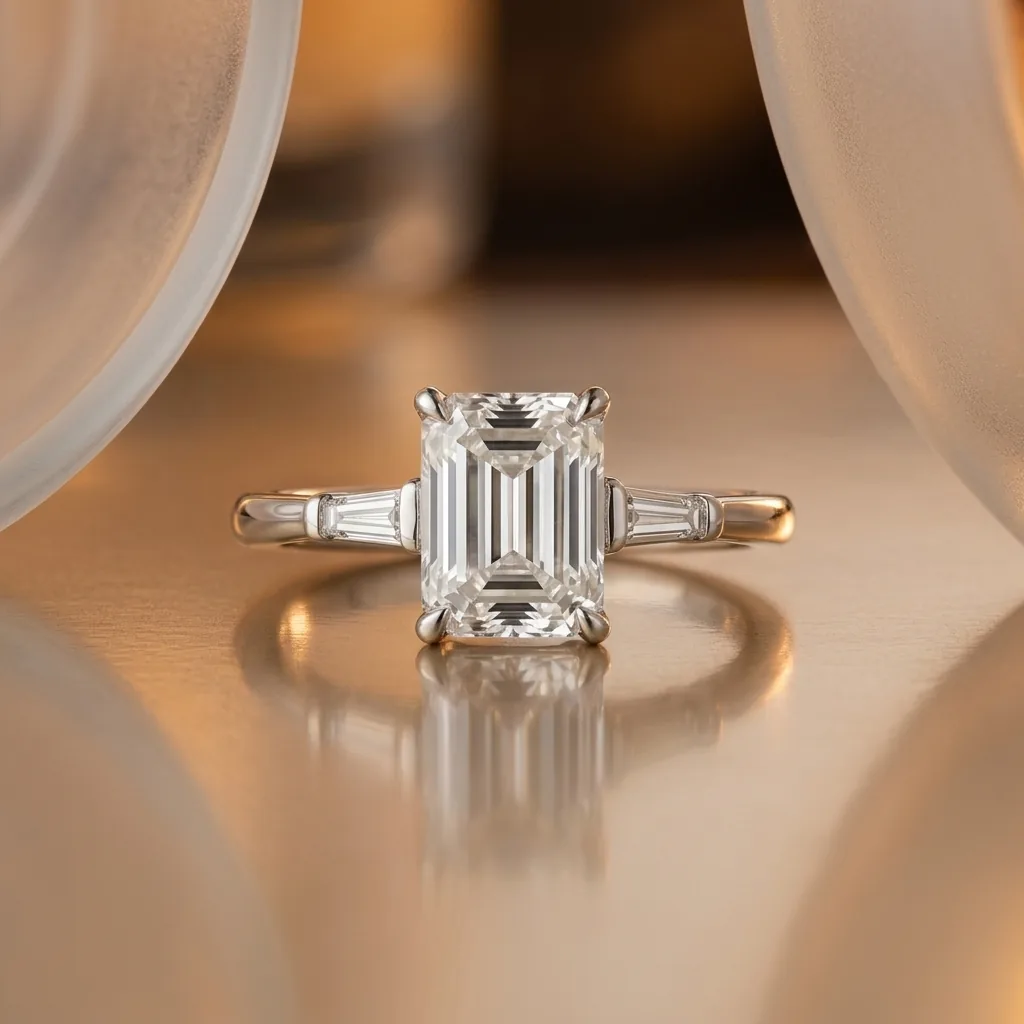
Polished reflections for finishes that go flat on plain white.
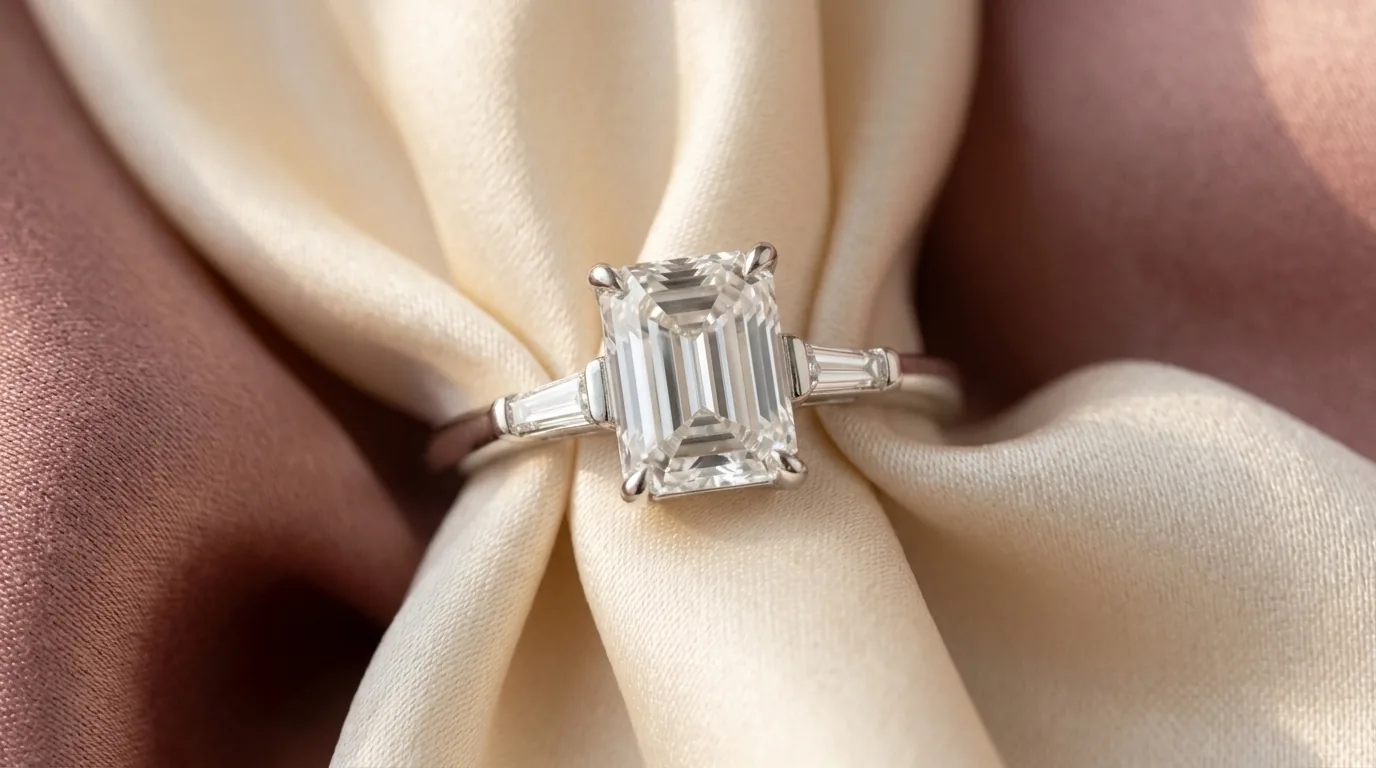
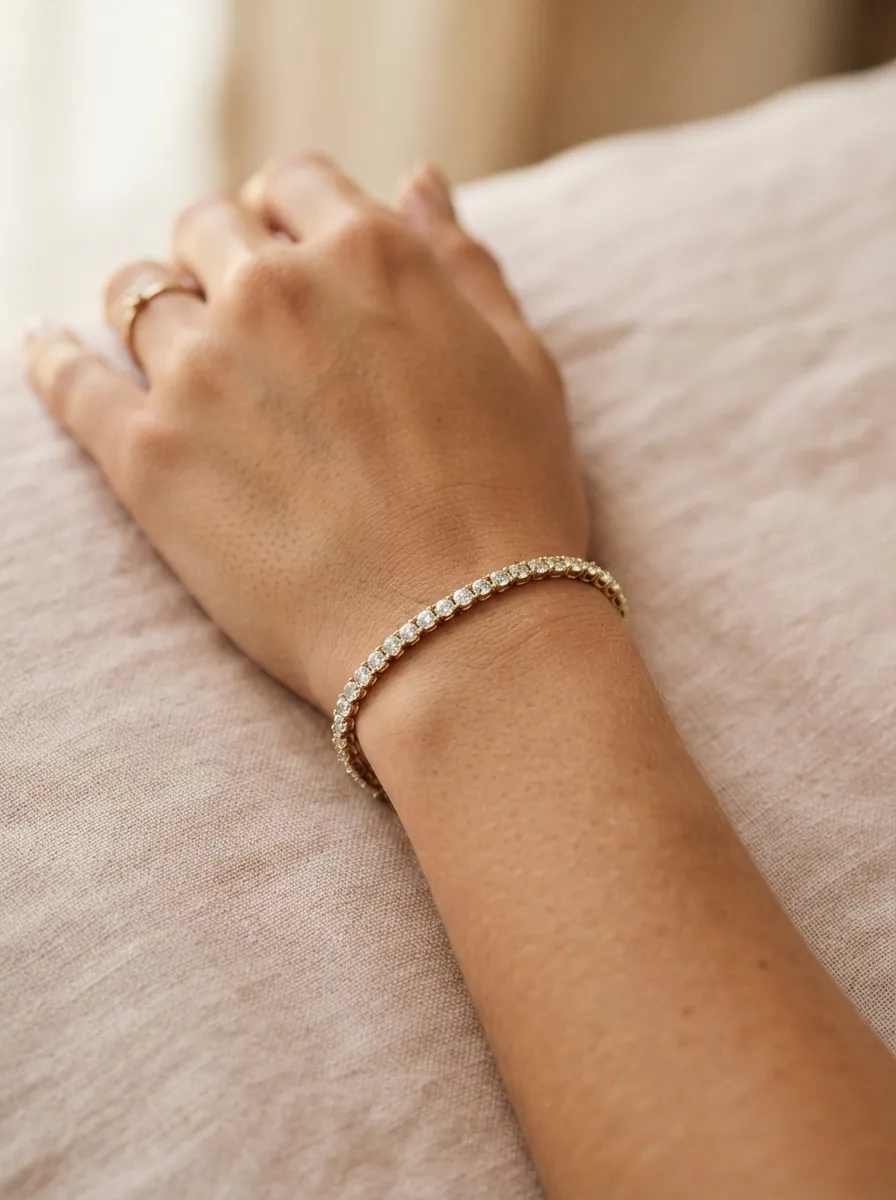
Fabric and soft light for thin chains and clasps that disappear on white.
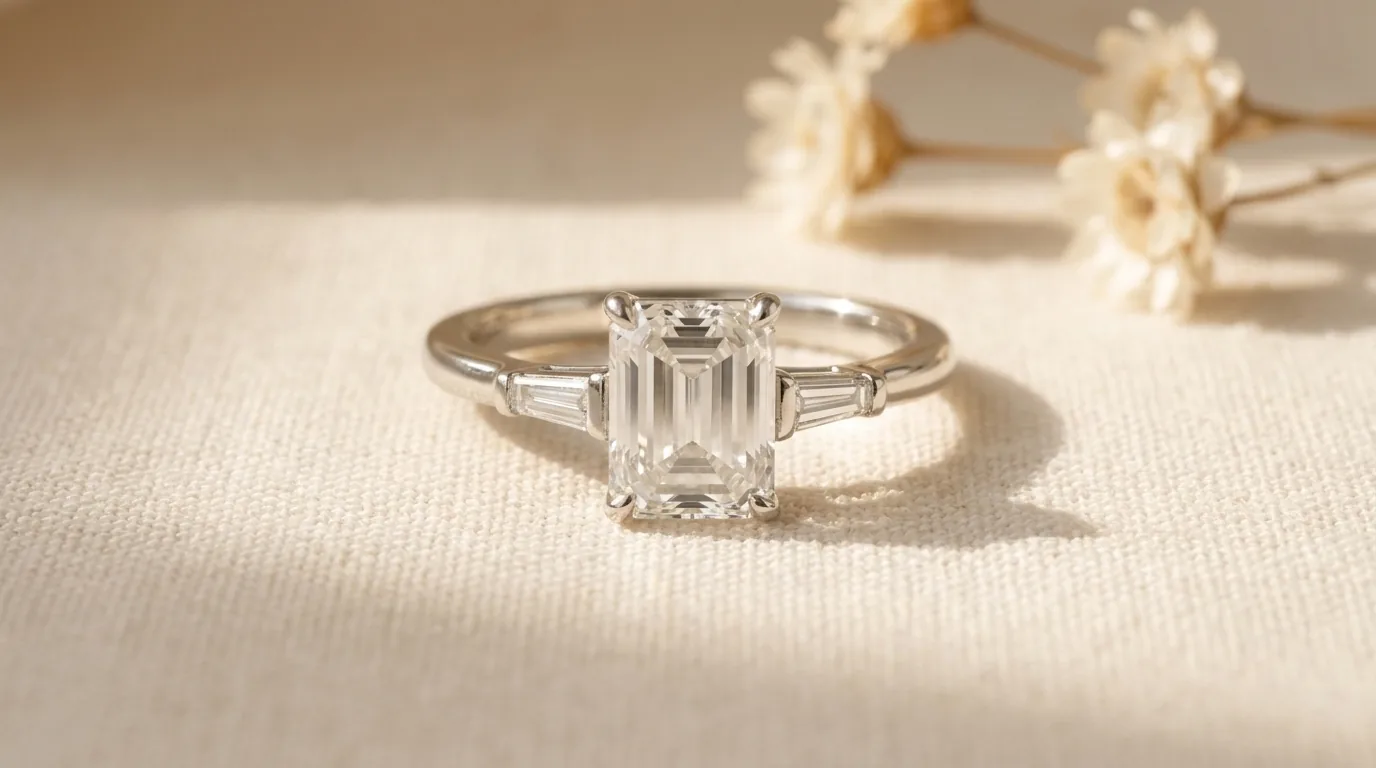
Window light and a little greenery for spring drops and bridal edits.
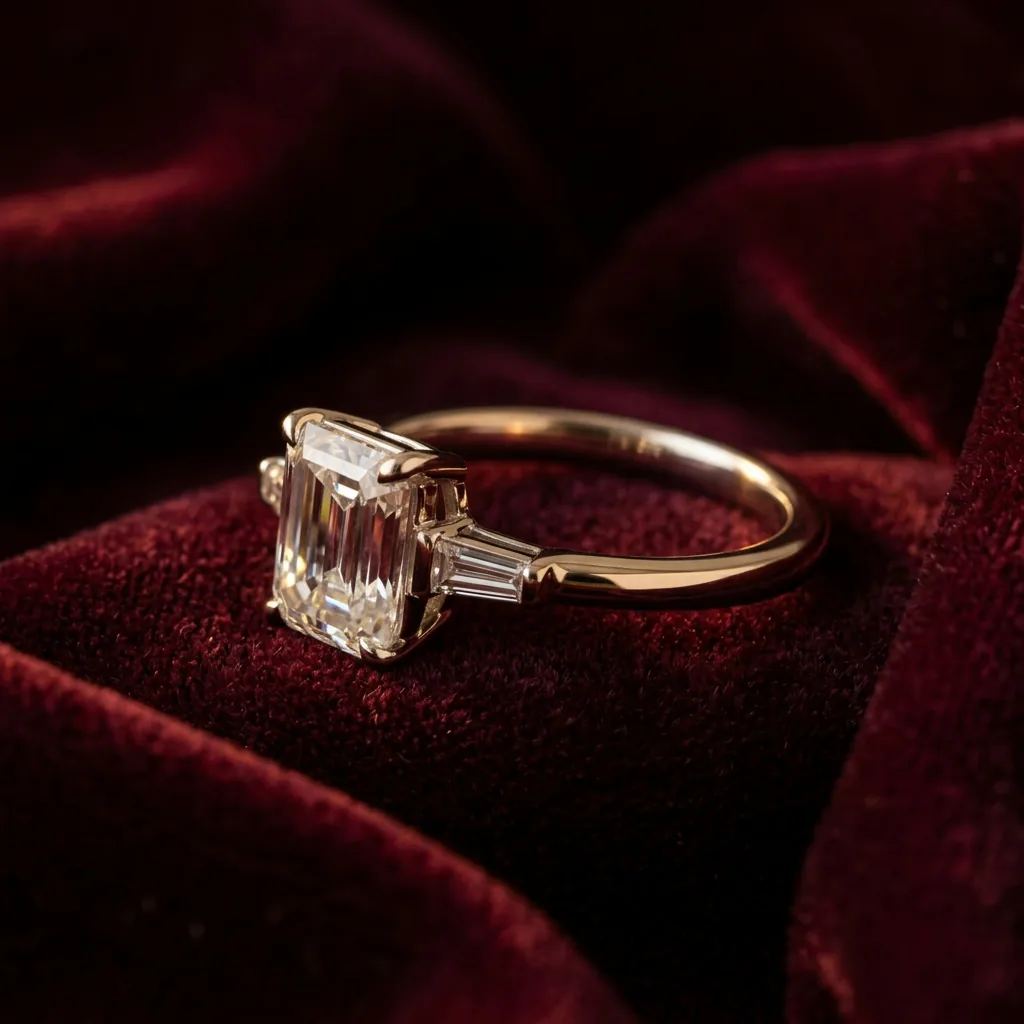
A dark, gift-box mood for occasion pieces and Q4 campaigns.
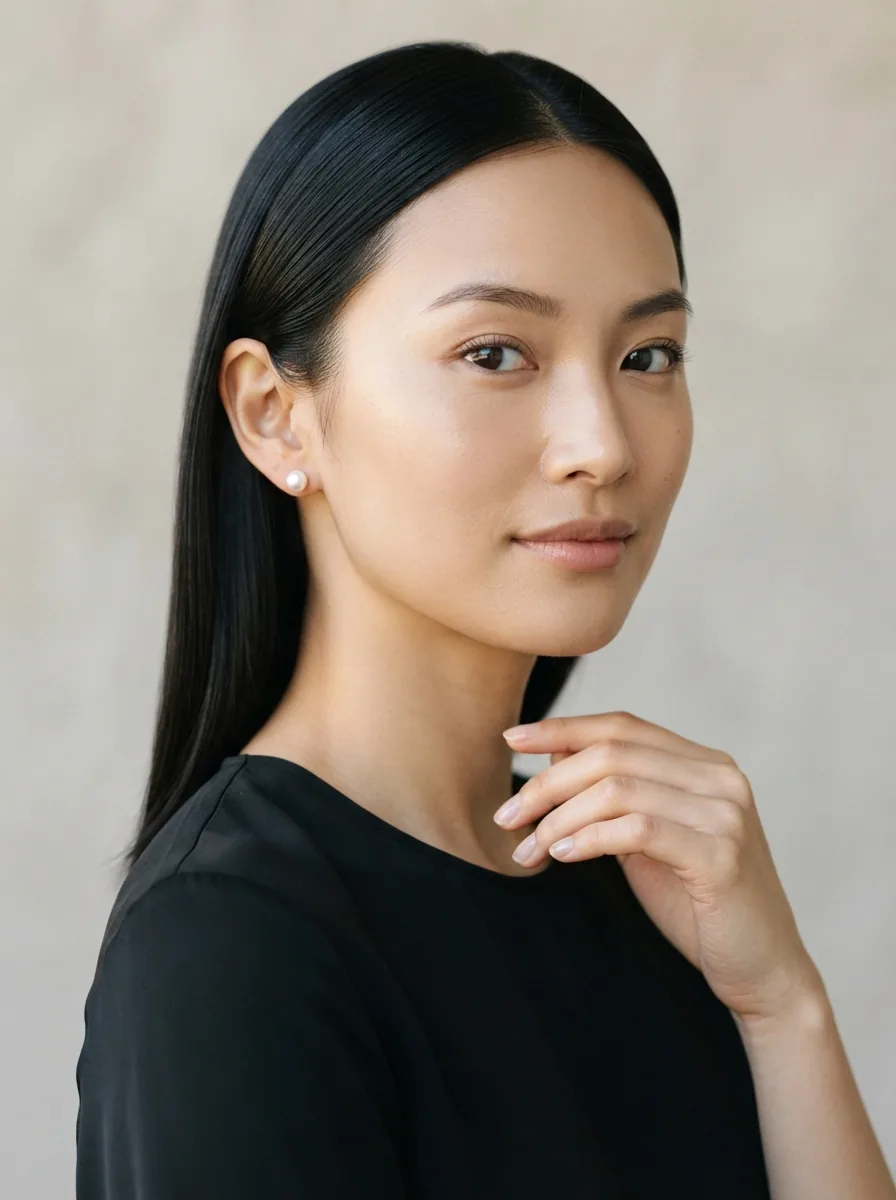
On the model
Half the questions your CS team gets about pendants are really about length. An on-model photo next to the packshot shows where it sits, how it looks against a neckline, and whether it works as a gift.
Model directions
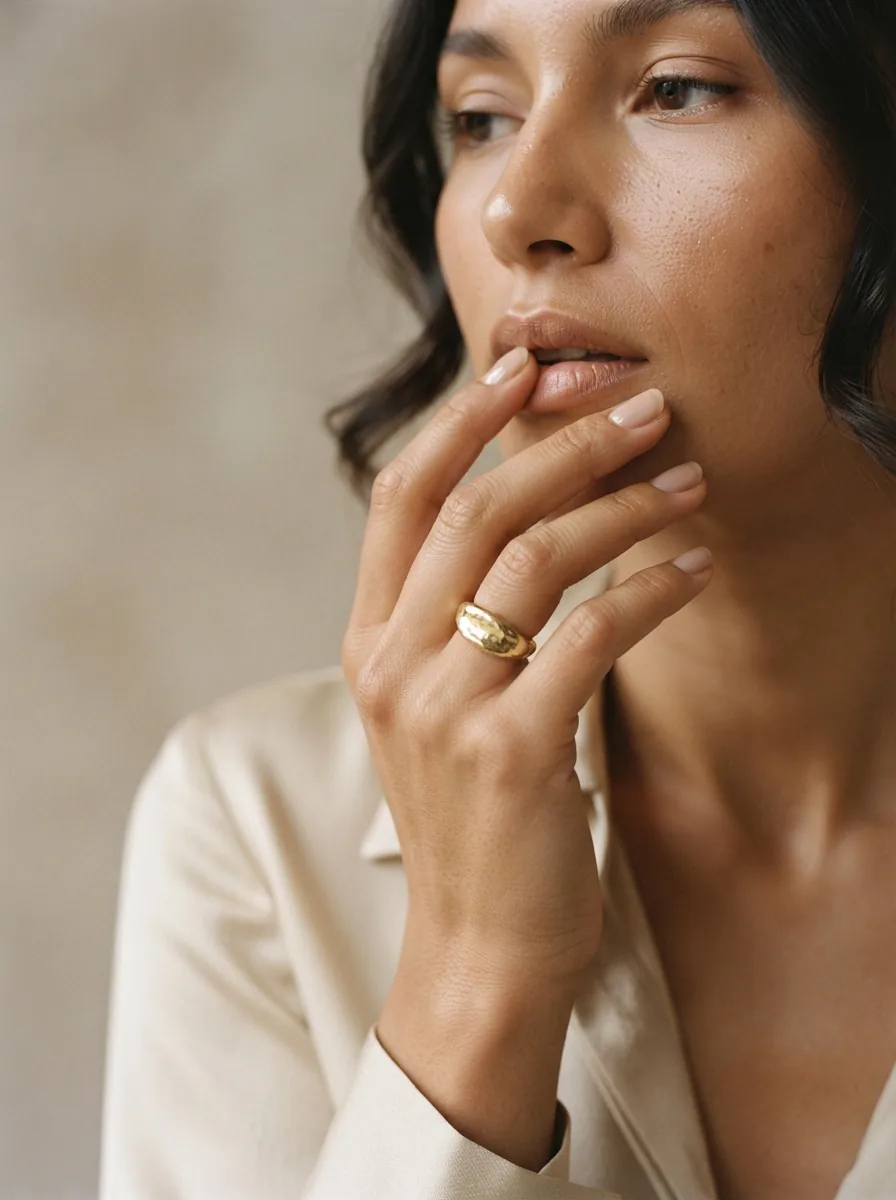
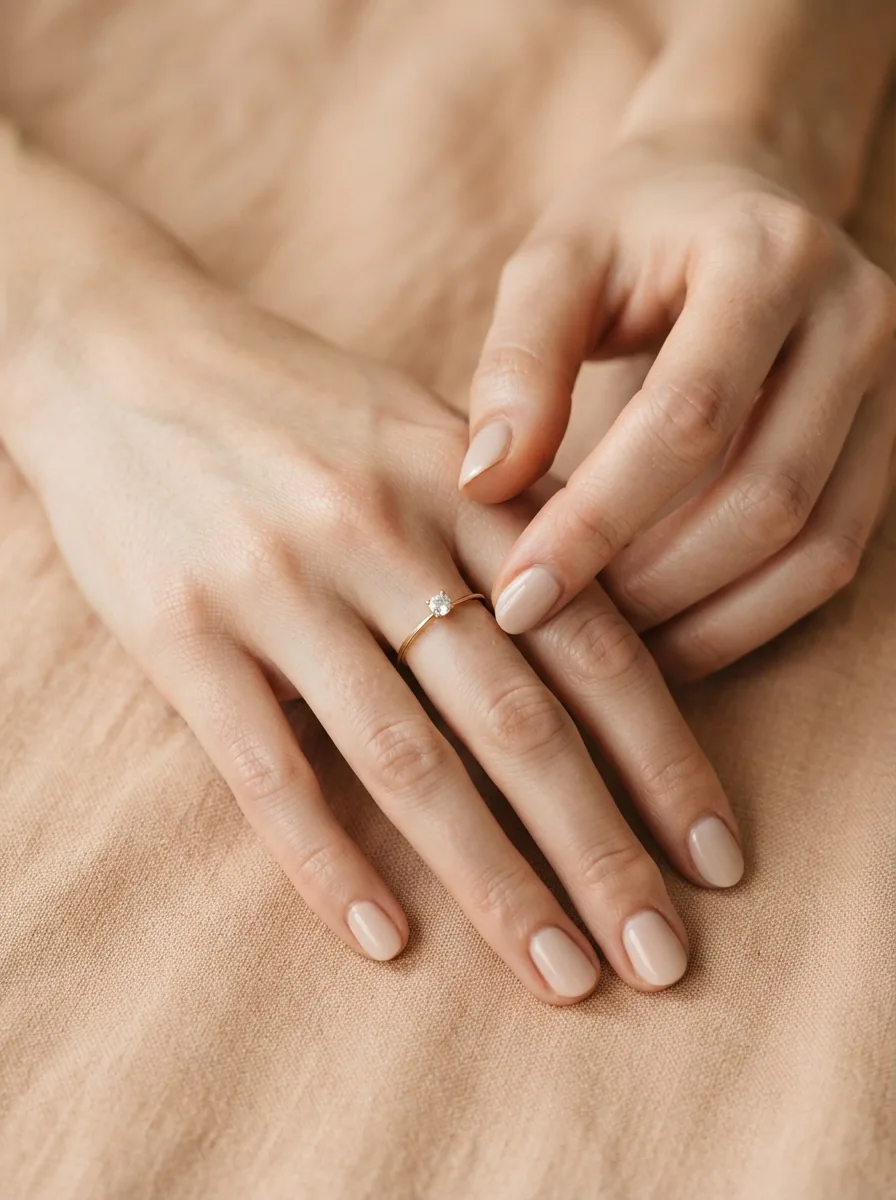
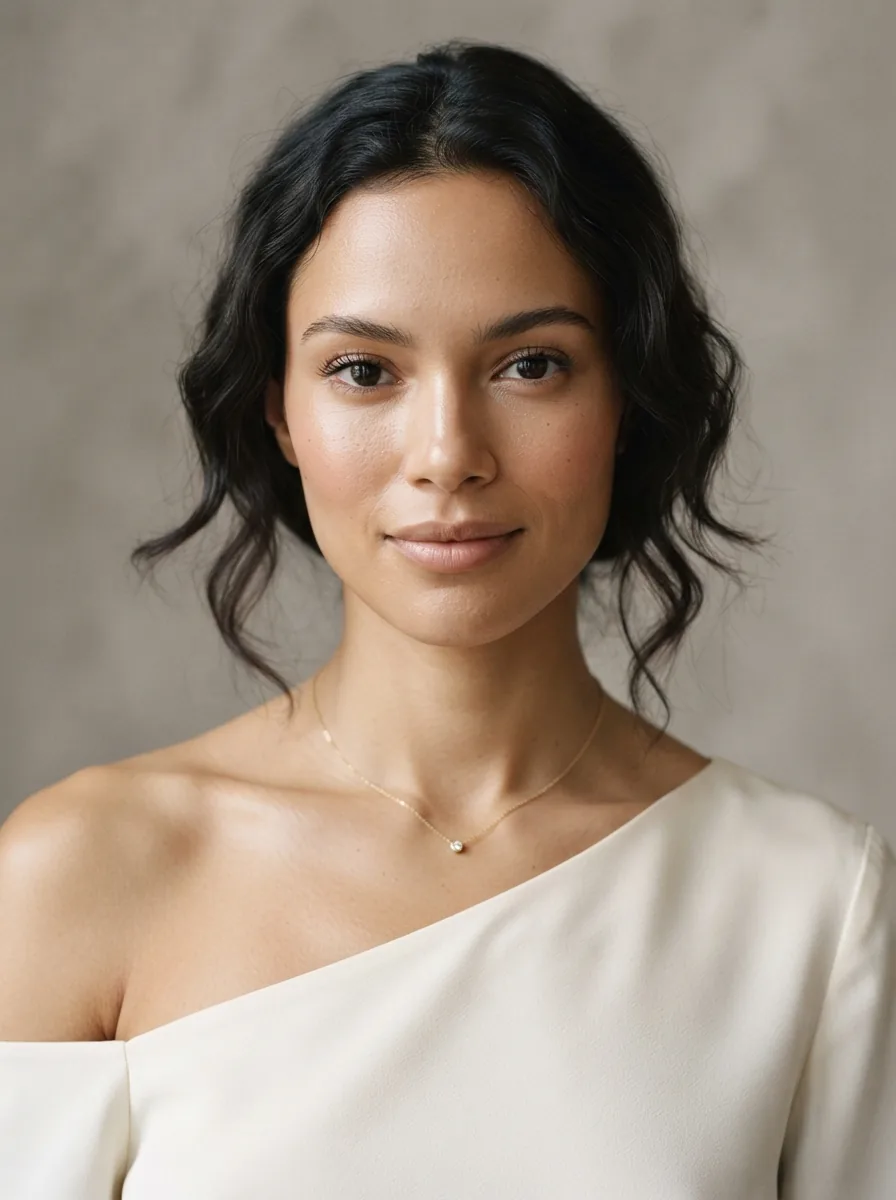
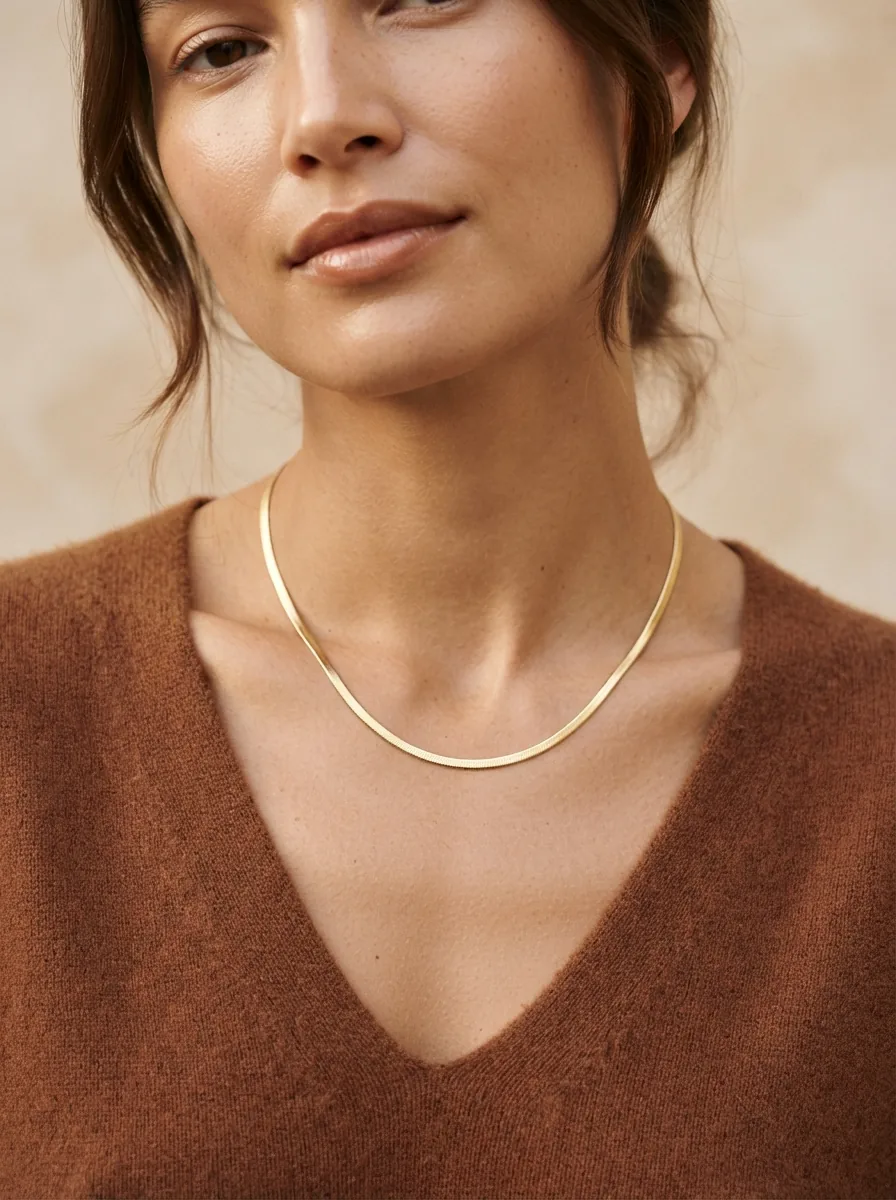
Try different angles and model styles for the same piece before you commit to the final on-model shot.
AI jewelry model video
Start with the AI jewelry model image you have already generated, then add a little movement. The jewelry stays in view while the clip gives launch posts, Stories, and paid social a little more life.
New arrivals waiting on photos, galleries stuck at two images, a category page that needs to look current before the weekend. AI jewelry model shots handle all of it.
Build the supporting shots for a listing from the packshot you already have: a detail crop, a lifestyle scene, a gift-box mood. Three or four images, each doing a different job, without another shoot day.
When a drop lands and all you have is the first packshot, generate a few extra angles to fill out the listing while your team works on the full gallery.
A flat lay cannot show where a pendant sits, how wide a cuff looks on a wrist, or what earrings do at arm's length. An on-model shot answers the questions that fill your support inbox.
How a listing gets its images
Most of an AI jewelry model result is decided by the source photo. A sharp packshot and a clear idea of what the image is for beat a long list of style words.
Sharp, evenly lit, the piece large in frame. Wipe the fingerprints and fix a color cast first, because both carry straight through into the new shot.
A second gallery slot, a gift campaign, a material close-up, or a short clip for social. Pick the type and scene around that. What works on a product page is a different crop from what works in a campaign.
Run a few directions when the detail matters, then open each at full size next to your packshot. Publish the ones that hold up. Run the rest again.
Rings, necklaces, earrings, and bracelets each have their own weak spot. A scene that flatters a ring can hide the one thing a pair of earrings needs to show.
Rings sell on the setting. Shoot the band at an angle that shows the gallery, prongs, and stone, then check the close crops for proportions that have shifted. Scene frames read metal and facets better than flat white does.
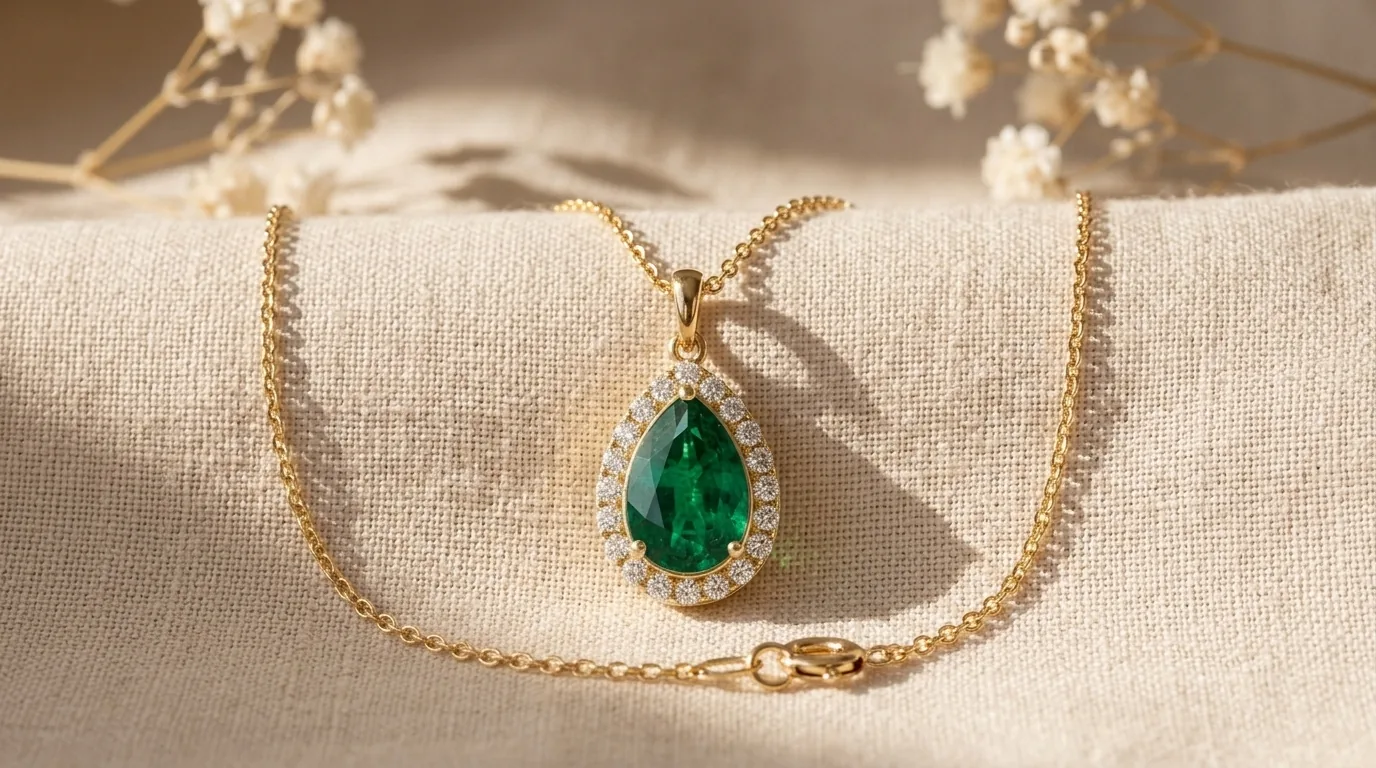
Get the chain and the pendant in the same source shot. In an on-model shot, follow the chain as one continuous piece and check that the pendant drops where it actually would. A clasp that wandered to the front is a reason to pick another frame.
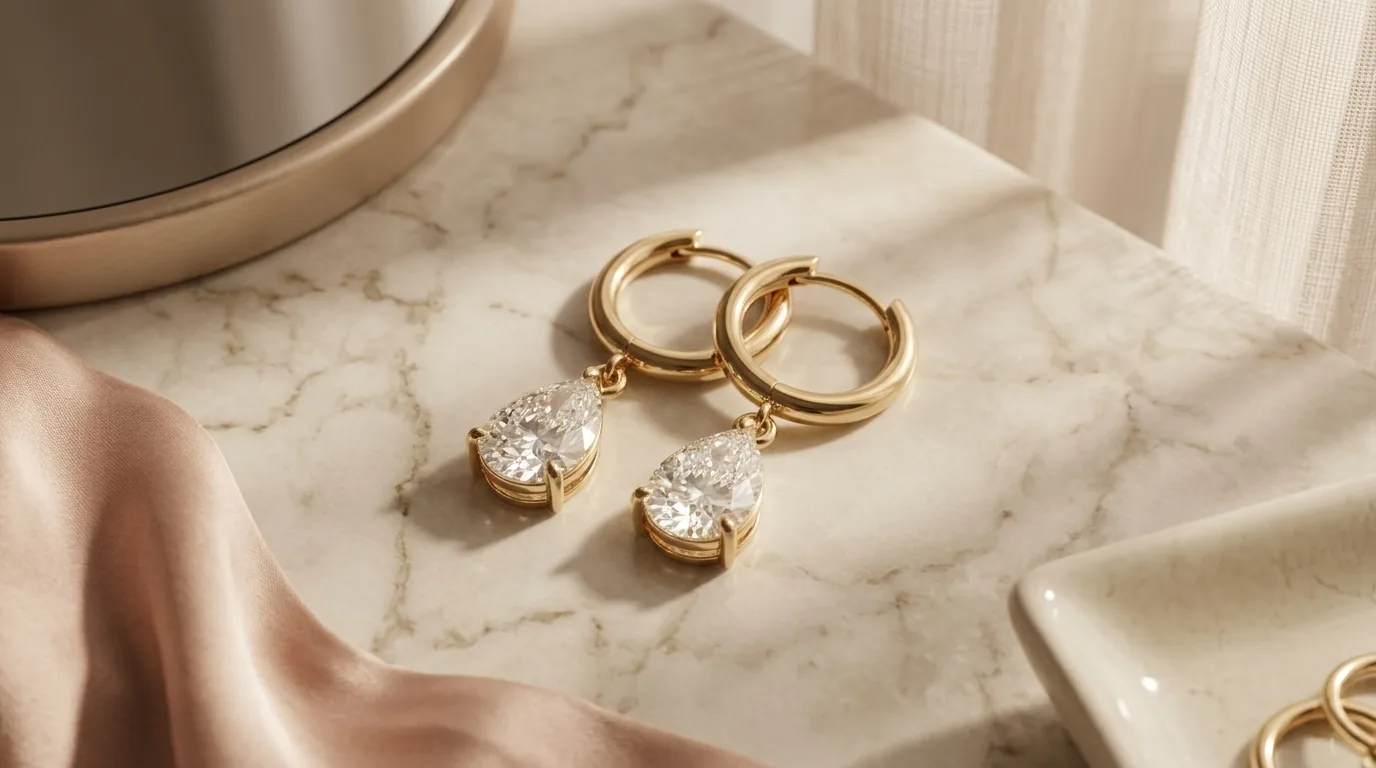
The fitting is tiny in frame, so earrings need the closest look. If the pair is deliberately mismatched, make that obvious in the source. For on-model shots, zoom to the lobe, post, hook, pair count, and drop direction.
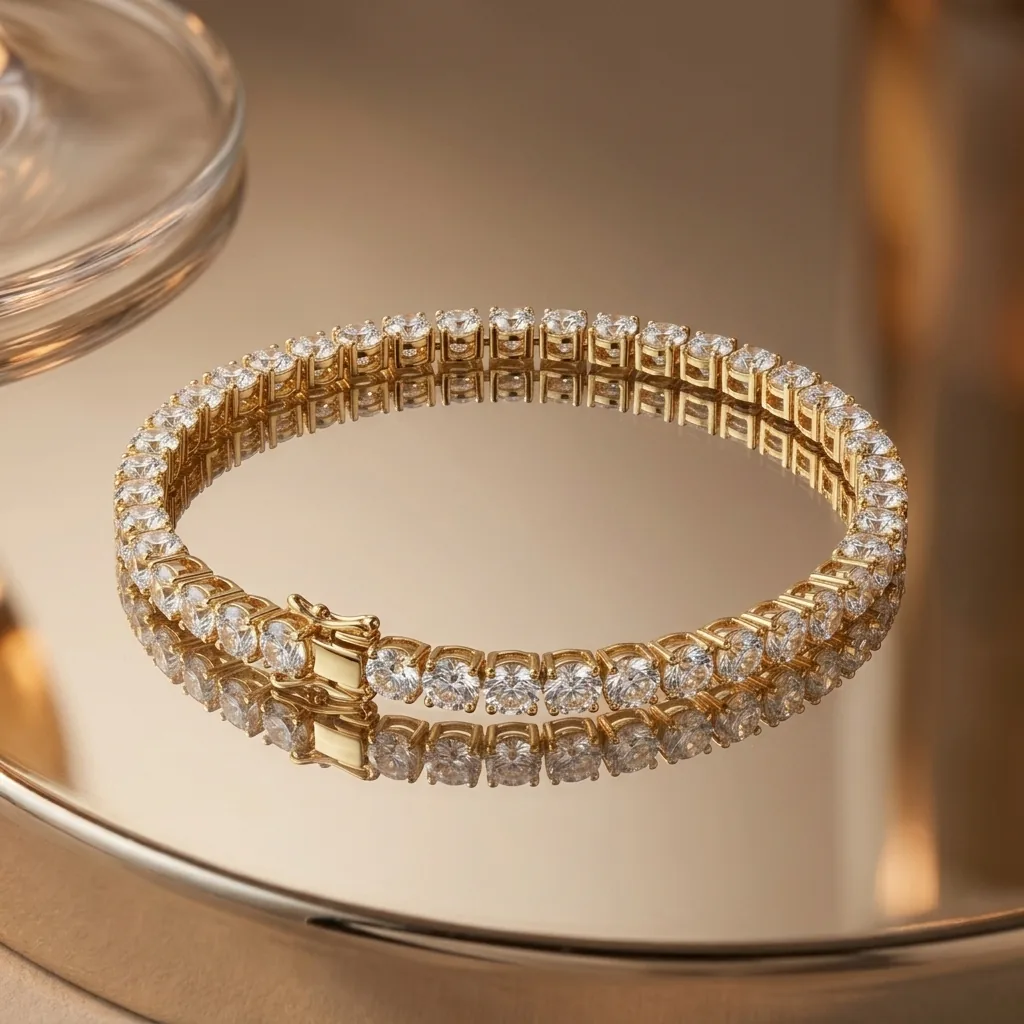
Bracelets are a scale problem. A cuff shot flat can read much larger or smaller on a wrist, so compare proportion carefully and treat the on-model shot as a styling reference, not a measurement.
Give every AI jewelry model image the same check your studio photos go through. It takes a minute and catches the shots that cause returns.
Outline, proportion, and part count against the packshot. Band, pendant shape, links, and pair count should all still be recognizable. If the shape drifted, run it again instead of cropping around it.
Zoom to the metal tone, prongs, facets, and the joins between two materials. Watch for settings that merged together or stones that look painted on.
In on-model shots, follow the contact points: earring on the lobe, chain around the neck, ring at a believable size. Easy to miss at thumbnail size, impossible to miss once a shopper opens the image.
Read engraving, hallmarks, and brand marks character by character. If a frame invents text you never put on the piece, drop it. That is not a retouching job.
One frame rarely works everywhere. Each channel has its own order of operations.
Your own photography leads. Scene frames fill the slots after it, and an on-model shot goes in as the styling reference. Order matters: material, scale, and mood first, editorial compositions further down.
Amazon, Etsy, and Google Shopping each have their own rules for backgrounds, borders, and the main image, and those rules move. Keep the main slot compliant and use scene frames in the secondary slots. Approval is always the platform's call.
Four angles on the same piece: daylight, macro detail, gift box, on the model. Run them as separate creatives and let the numbers decide, instead of shipping one hero and hoping.
An older collection with reliable packshots and nothing else can feel current again with a few new scene frames for a gift edit or seasonal category page. Keep the original photography in place for close inspection.
The questions that come up once a small team starts putting AI-generated images on live listings.
Sharp, evenly lit, piece large in frame, plain background. A phone photo is fine if it is in focus. Clean the piece first, since dust, fingerprints, hard shadows, and color casts all carry through.
Close, but not exact. Fine details can shift around prongs, chain links, clasps, and engraving, which is why the check before publishing matters. Compare against your packshot and run it again if a customer-facing detail changed.
Rings, necklaces, earrings, and bracelets. Earrings and bracelets take the most attention, since small fittings and wrist proportions are the hardest things to read in a crop.
Yes. First generate the on-model image in the studio, then turn that AI jewelry model image into a short video for a launch post or ad variation. Set duration and resolution, then review the final result before publishing.
Try a cleaner source photo, a different scene, or another pass. Intricate settings, reflective metal, and mixed materials often take two or three tries. Faster than repairing a weak frame in your design file.
Keep a compliant main image where the channel requires one, and check that channel's current rules before you publish. Approval, disclosure, and policy calls belong to the platform.
Go by catalog size, how many frames each listing needs, and how often you drop new pieces. The studio shows the settings and the cost before you spend anything.
Pick one scene direction per collection and stay with it, the same way you would brief a photographer. Same surface, same light, same crop ratio, so the category page reads as one shoot instead of six.
Compare EcomVisual image credits, monthly plans, and one-time packs. Pay only for generated images, or subscribe for the best rate.
Upload the packshot you know inside out, generate a scene around it with the AI jewelry model generator, and compare the two side by side. If it meets the same standard as your studio photos, pick a plan and work through the rest of the catalog.